
GE 4-in-1 Microwave Manual: A Comprehensive Guide
Welcome! This detailed manual expertly guides you through every aspect of your new GE 4-in-1 Microwave, ensuring optimal performance and longevity․
It’s designed for easy installation, operation, and maintenance, maximizing your cooking experience․
Refer to pages 13 & 14 for rack specifics!
Congratulations on acquiring the GE 4-in-1 Microwave! This versatile appliance seamlessly blends microwave, convection oven, air fryer, and broiler functionalities into a single, convenient unit․ This manual serves as your comprehensive guide, designed to unlock the full potential of your new kitchen companion․
We understand that navigating a multi-functional appliance can seem daunting․ Therefore, this manual is structured to provide clear, step-by-step instructions, ensuring a smooth and enjoyable cooking experience․ From basic microwave functions to advanced convection baking and crispy air frying, we’ve covered it all․
This guide will familiarize you with the control panel, various cooking modes, rack placement, and essential maintenance procedures․ Remember to consult pages 13 and 14 for detailed information regarding the included racks and their specific applications․ Proper utilization of these resources will guarantee optimal results and extend the lifespan of your GE 4-in-1 Microwave․ Welcome to a world of culinary possibilities!
Understanding the Key Features
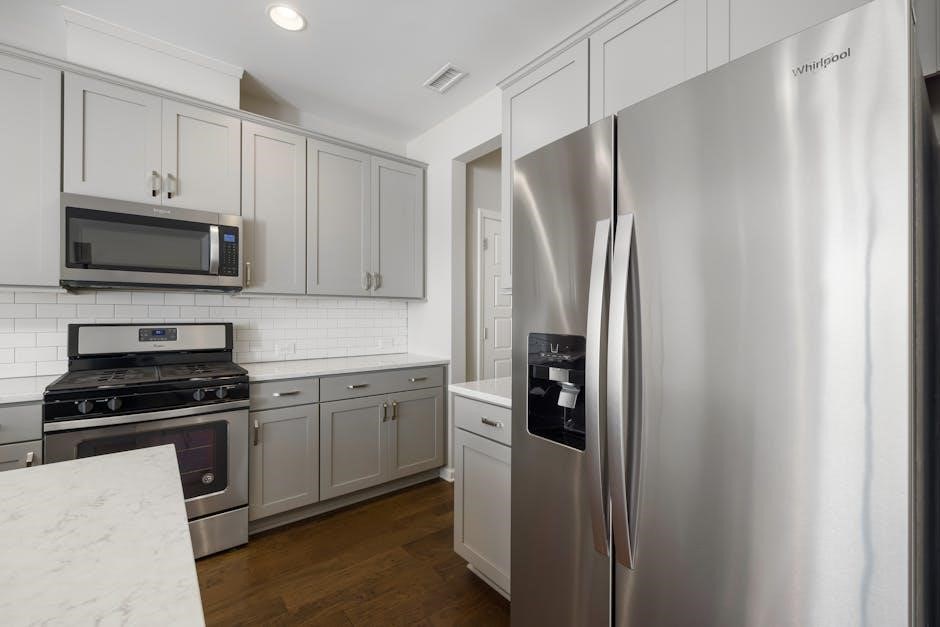
The GE 4-in-1 Microwave distinguishes itself through its remarkable versatility․ Beyond standard microwave functionality, it boasts dedicated Convection Cooking, allowing for even baking and roasting – mimicking a traditional oven․ The integrated Air Fry function delivers crispy, golden results with significantly less oil, promoting healthier cooking habits․ Furthermore, the Broil feature provides a quick and efficient way to brown and finish dishes․
This appliance isn’t just about diverse cooking methods; it’s about convenience․ The inclusion of specialized racks, detailed on pages 13 & 14 of the manual, optimizes cooking performance for each function․ The ability to defrost meat efficiently, utilizing power level Warm (1) and shielding techniques, saves valuable time․
Understanding these core features, and how they interact, is crucial for maximizing your cooking experience․ This microwave is designed to simplify meal preparation, offering a powerful and adaptable solution for all your culinary needs․
Control Panel Overview
Navigating the control panel is key to unlocking the GE 4-in-1’s potential․ Familiarize yourself with each button’s function and the display indicators for seamless operation․
Buttons and Their Functions
The Number Pad: Essential for inputting cook times and entering specific settings․ Precise timing is crucial for optimal results, whether defrosting or reheating․
Start/Enter: Confirms your selections and initiates the chosen cooking function․ A single press activates the microwave, convection, or air fry modes․
Stop/Clear: Immediately halts the cooking process or clears any entered information․ Useful for quick adjustments or in case of errors․
Power Level: Allows you to adjust the microwave’s power output, ranging from 10% to 100%․ Lower power levels are ideal for delicate foods or defrosting․
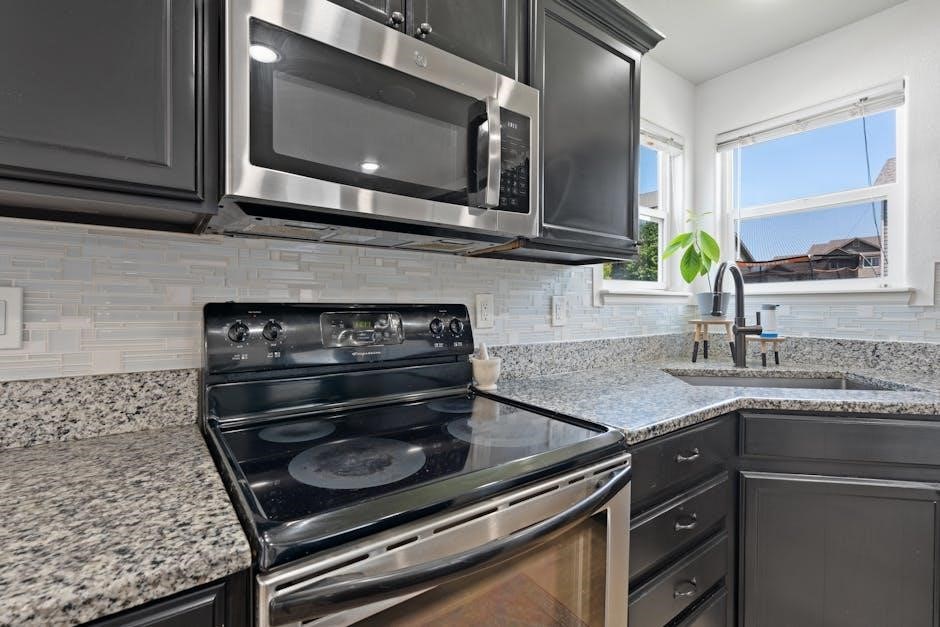
Function Buttons (Microwave, Convection, Air Fry, Broil): Dedicated buttons for each cooking mode, simplifying operation․ Each mode offers unique capabilities․
Defrost: Automatically calculates defrosting time based on weight or time․ Ensure meat is appropriately prepared, as outlined in the owner’s manual;
Menu/Set: Accesses pre-programmed cooking settings for common foods․ Offers convenience and consistent results․ Explore the manual for available options․
Display Indicators Explained
Clock: Displays the current time, essential for accurate cooking and timing․ Ensure the clock is correctly set for optimal functionality․
Timer: Shows the remaining time for any active timer or cooking cycle․ Provides a clear visual representation of progress․
Power Level Indicator: Visually represents the selected power level, from 10% to 100%․ Allows for quick confirmation of settings․
Mode Indicator: Illuminates to indicate the currently selected cooking mode (Microwave, Convection, Air Fry, or Broil)․ Clearly identifies the active function․
Defrost Indicator: Lights up during the defrost cycle, signaling the appliance is actively defrosting․ Monitor progress and adjust as needed․
Cooking Time Indicator: Displays the programmed cooking time․ Easily adjustable before or during operation․
Error Codes: Displays specific codes in case of malfunctions․ Refer to the troubleshooting section of the manual for explanations and solutions․ Some pages may be difficult to find!
Microwave Functions

Explore versatile cooking! This GE 4-in-1 offers basic microwave, convection, air frying, and broiling capabilities․ Unlock a world of culinary possibilities with ease․
Basic Microwave Cooking
Mastering the Fundamentals: Utilizing the microwave function is straightforward, yet crucial for everyday cooking tasks․ Begin by placing your food item within a microwave-safe dish, ensuring it’s appropriately covered to prevent splattering․ Select the desired power level – options range from low for delicate items to high for rapid heating․
Input the cooking time using the numeric keypad, and press ‘Start’․ For optimal results, consider stirring or rotating food midway through the cooking cycle to promote even heating․ Remember, power level ‘Warm (1)’ is ideal for defrosting meat, requiring turning halfway through and shielding warmer areas with foil․
After the initial defrosting period, separate pieces with a table knife and microwave for an additional 2-4 minutes if needed․ Always allow food to stand for a short period after cooking to allow heat to distribute evenly․ Experiment with different power levels and timings to achieve perfectly cooked results every time!
Convection Cooking Mode
Unlocking Oven-Like Results: The convection cooking mode transforms your GE 4-in-1 Microwave into a versatile oven alternative․ This function utilizes a fan to circulate hot air, ensuring even heat distribution for baking and roasting․ For best results, use convection-safe cookware – metal pans are generally suitable, while plastic should be avoided․

Preheating is often recommended, similar to a conventional oven․ Select the convection setting, set the desired temperature, and cooking time․ Remember that convection cooking typically requires slightly lower temperatures and shorter cooking times compared to traditional baking․
Proper rack placement is key; utilize the included racks for optimal airflow․ Explore recipes specifically designed for convection ovens to maximize the benefits of this feature․ This mode is perfect for achieving crispy exteriors and thoroughly cooked interiors, offering a delightful baking experience․
Air Fry Function – Usage and Tips
Crispy Delights with Less Oil: The Air Fry function on your GE 4-in-1 Microwave delivers deliciously crispy results with minimal oil․ This mode circulates superheated air around the food, mimicking the effect of deep frying without the excess fat․ For optimal performance, lightly coat food with oil or use an oil sprayer – avoid overcrowding the cooking area to ensure even crisping․
Utilize the designated air fry rack for proper airflow․ Cooking times are generally shorter than traditional frying, so frequent monitoring is recommended․ Experiment with different temperatures and times to achieve your desired level of crispness․
This function is ideal for fries, chicken wings, vegetables, and more․ Remember to flip or toss food halfway through the cooking process for uniform results․ Enjoy healthier, guilt-free versions of your favorite fried foods!
Broil Function – Guidelines and Safety
Achieving Golden-Brown Perfection: The Broil function utilizes intense, direct heat from the top of the microwave to quickly brown and crisp the surface of foods․ Always use the broil rack, positioned appropriately within the cavity, to ensure safe and effective operation․ It’s crucial to monitor food closely during broiling, as it can burn rapidly․
For safety, never leave the microwave unattended while broiling․ Avoid using plastic or non-heat-resistant cookware․ Ensure the door remains securely closed throughout the broiling process․ Shield areas prone to over-browning with small pieces of aluminum foil․
This function is excellent for melting cheese, browning casseroles, and finishing dishes with a golden crust․ Remember to exercise caution when removing hot dishes, utilizing oven mitts or pot holders․
Using the Racks & Accessories
Maximize Versatility! Discover how to properly utilize the included racks for optimal cooking results․ Refer to page 13 & 14 for detailed rack placement guidance․
Identifying the Different Racks
Understanding Your Racks: Your GE 4-in-1 Microwave comes equipped with multiple racks designed to enhance its versatility․ Identifying each rack and its intended purpose is crucial for achieving optimal cooking results․ Typically, you’ll find a standard cooking rack, often with a simple grid pattern, ideal for general microwave cooking and reheating․
However, a key feature of this microwave is its convection and air fry capabilities, necessitating a specialized rack; This rack often features a more open design, promoting better air circulation around the food․ This is vital for achieving that crispy, fried texture when using the air fry function or baking with convection․
Carefully examine each rack to note any differences in construction or markings․ The manual, specifically pages 13 and 14, should provide clear illustrations and descriptions of each rack, detailing its specific applications․ Using the correct rack for each cooking mode ensures even cooking and prevents potential issues․
Optimal Rack Placement for Various Foods
Maximizing Cooking Performance: Achieving perfect results with your GE 4-in-1 Microwave hinges on proper rack placement․ For standard microwave cooking and reheating, the standard rack positioned in the center of the cavity generally provides the most even heating․ When defrosting meat, utilizing the rack allows for better air circulation, promoting more uniform thawing – remember to turn the meat and shield warmer areas with foil as outlined in owner’s manuals․
For convection baking and air frying, the specialized rack is essential․ Position it in the middle of the oven, ensuring ample space around the food for optimal air flow․ This is critical for achieving crispy exteriors․ Larger items may require the lower rack position, but always maintain sufficient clearance above․
Consult your manual for specific recommendations based on food type and quantity․ Remember, proper rack placement, combined with appropriate cooking settings, unlocks the full potential of your microwave․
Accessories Available (and where to find info)
Expanding Your Culinary Capabilities: While your GE 4-in-1 Microwave is versatile, certain accessories can further enhance its functionality․ GE Appliances offers a range of compatible items, available at an additional cost through authorized suppliers․ These may include specialized baking dishes designed for convection cooking, crisper pans optimized for air frying, and additional racks for multi-level cooking․
Unfortunately, detailed accessory lists aren’t always readily available within the standard owner’s manual – some pages are reportedly difficult to access or even intentionally omitted from printed versions․
Finding Information: Your best resource is contacting your GE Appliances supplier directly․ They can provide a current catalog of available accessories and pricing․ Online resources, while sometimes unreliable (like manuall․co․uk), may offer clues, but always verify information with an official GE source․ Remember to have your model number handy when inquiring․

Cooking with the GE 4-in-1 Microwave
Unlock Flavor! This section details techniques for defrosting meat, reheating, cooking vegetables, and baking, utilizing power levels and convection settings effectively․
Defrosting Meat – Power Level & Timing
Achieve Perfectly Defrosted Meat: Utilizing the defrost function correctly is crucial for food safety and texture․ Always use the ‘Warm’ power level (1) for optimal results, preventing unwanted cooking during the process․
Begin by placing the unwrapped meat within a suitable cooking dish․ For even defrosting, turn the meat over halfway through the designated time․ Shield any areas prone to overcooking – like thinner sections – with small pieces of aluminum foil․
After the initial defrost cycle, separate any frozen pieces using a table knife․ A further 2 to 4 minutes of microwaving may be necessary to fully defrost, depending on the meat’s size and thickness․ Remember to let the meat stand for a short period after defrosting to ensure complete thawing and even temperature distribution․
For chicken, start wrapped, then unwrap and turn halfway through․ This method ensures safe and effective defrosting, preparing your meat for delicious cooking!
Reheating Food – Best Practices
Revive Leftovers with Ease: Reheating food in your GE 4-in-1 Microwave is simple, but following best practices ensures optimal results․ For consistently heated dishes, use a lower power level – around 50% – to prevent drying or uneven cooking․
Covering your food is highly recommended․ Use a microwave-safe lid or vented plastic wrap to trap moisture and promote even heating․ Stirring halfway through the reheating process is also crucial, especially for denser foods like casseroles or stews․
Consider adding a tablespoon of water to drier foods to help restore moisture․ Reheating times will vary depending on the food type and quantity, so start with shorter intervals and check frequently․
Avoid overheating, as this can compromise the food’s texture and flavor․ Remember, it’s always better to reheat in increments than to risk overcooking!
Cooking Vegetables – Achieving Optimal Results
Unlock Vibrant Flavors: Your GE 4-in-1 Microwave excels at cooking vegetables, preserving their nutrients and delivering delicious results․ For best outcomes, add a small amount of water – approximately 2 tablespoons per cup of vegetables – to create steam, aiding in even cooking․
Place vegetables in a microwave-safe dish, covered with a lid or vented plastic wrap․ This traps moisture and prevents splattering․ Consider piercing root vegetables, like potatoes or sweet potatoes, with a fork to allow steam to escape․
Cooking times vary significantly based on the vegetable type and desired tenderness․ Start with shorter intervals, checking for doneness frequently․ For crisp-tender results, avoid overcooking․
Utilize the microwave’s power levels; lower settings are ideal for delicate vegetables, while higher settings suit denser varieties․ Experiment to discover your preferred cooking times and textures!
Baking with Convection – Recipes & Settings
Convection Baking Unleashed: Transform your GE 4-in-1 Microwave into a mini-oven with its convection baking function! This mode circulates hot air, ensuring even browning and crispy textures, perfect for cookies, muffins, and small cakes․
Preheating is crucial for optimal results․ Select the convection bake setting and allow the microwave to preheat for 5-10 minutes․ Use metal baking pans for best heat conduction․ Reduce baking temperatures by 25°F compared to conventional oven recipes․
For cookies, a temperature of 325°F and a baking time of 8-12 minutes often yields excellent results․ Muffins typically require 350°F for 15-20 minutes․ Always check for doneness with a toothpick․
Experiment with simple recipes and adjust settings based on your preferences․ Remember, convection baking delivers faster and more even cooking!

Maintenance and Care
Keep it Sparkling! Regularly clean the interior and exterior for peak performance․ Address common issues promptly, and always prioritize safety precautions during upkeep․
Cleaning the Interior and Exterior
Maintaining a pristine microwave is crucial for both hygiene and optimal performance․ Begin by disconnecting the power supply before any cleaning procedure․ For the interior, a simple solution of water and mild dish soap works wonders․ Avoid abrasive cleaners, as they can damage the surfaces․
Gently wipe down the interior walls, ceiling, floor, and door using a soft cloth or sponge․ Pay particular attention to any splatters or food residue․ For stubborn stains, place a microwave-safe bowl filled with water and a slice of lemon inside and heat on high for a few minutes․ This steam will loosen the debris, making it easier to wipe away․
The exterior requires equally careful attention․ Use a damp cloth with mild soap to clean the control panel and stainless steel surfaces․ Dry thoroughly with a clean, soft towel to prevent water spots․ Avoid spraying liquids directly onto the control panel․ Regularly cleaning ensures your GE 4-in-1 Microwave remains a reliable and hygienic kitchen appliance․
Troubleshooting Common Issues
Encountering issues with your GE 4-in-1 Microwave? Don’t worry, many problems have simple solutions․ If the microwave doesn’t start, first ensure the door is securely closed․ Check the power cord connection and the circuit breaker․ If the turntable isn’t rotating, verify it’s properly seated on the drive coupling․
For uneven cooking, ensure food is arranged evenly and use microwave-safe containers․ If you notice arcing (sparks), immediately stop the microwave and remove any metallic objects․ A common issue is pages being difficult to delete from the printed book, but this doesn’t affect functionality․
If problems persist, consult the official GE manual for detailed troubleshooting steps․ Remember, attempting repairs yourself can void the warranty․ Contacting a GE Appliances supplier is recommended for complex issues․ Prioritize safety and refer to the manual’s safety precautions before attempting any fixes․
Safety Precautions
Prioritizing safety is crucial when operating your GE 4-in-1 Microwave․ Never attempt to operate the microwave if the door is damaged or doesn’t close securely․ Avoid heating sealed containers, as they may explode․ Always use microwave-safe cookware and utensils; metallic objects can cause arcing and fire hazards․
When defrosting food, follow recommended power levels and timings to prevent bacterial growth․ Be cautious when removing hot food, as containers and contents can be extremely hot․ Supervise children when they are near the microwave․
Regularly inspect the power cord for damage and avoid using extension cords․ Do not attempt to alter or repair the microwave yourself; contact a qualified technician․ Remember, some pages in the printed manual may be difficult to remove, but this doesn’t compromise safety guidelines․ Always refer to the full manual for comprehensive safety information․

Manual Access & Support
Find the official GE manual online for detailed assistance․ Supplier information is available at extra cost․ Refer to pages 13 and 14 for rack details!
Locating the Official GE Manual (Online Resources)
Accessing your GE 4-in-1 Microwave’s official manual is crucial for maximizing its features and ensuring safe operation․ While some users have encountered difficulties finding downloadable versions from certain sites – like manuall․co․uk, flagged as potentially unreliable – several legitimate online resources exist․
Begin your search on the official GE Appliances website․ Navigate to their support section and utilize the model number search function․ This will typically lead you directly to a downloadable PDF version of your specific microwave’s manual․ Alternatively, explore GE’s online documentation library, often categorized by appliance type․
If the official website proves unhelpful, consider searching reputable appliance parts retailers’ websites․ Many provide manuals as a courtesy to customers․ Remember to verify the manual corresponds precisely to your microwave’s model number to avoid confusion․ Be cautious of third-party sites offering downloads, prioritizing official sources whenever possible․
Keep in mind that some manuals, as noted in internal documentation, may have printing anomalies (“I CANNOT DELETE THESE TWO PAGES”)․ This doesn’t affect functionality, but awareness is helpful․
Understanding Page Number References (e․g․, Page 13 & 14)
Page number references within this guide, and particularly within the official GE 4-in-1 Microwave manual, are vital for pinpointing specific instructions and troubleshooting information․ Users have specifically inquired about pages 13 and 14, often relating to rack identification and optimal placement for various cooking tasks․
These pages typically detail the different racks included with your microwave – understanding their unique designs and intended uses is key to maximizing cooking efficiency․ Expect diagrams illustrating proper rack positioning for different food types, ensuring even cooking and optimal results․
Referencing page numbers allows for quick access to crucial details, avoiding unnecessary searching through the entire manual․ Remember that some manuals may contain printing inconsistencies (“I CANNOT DELETE THESE TWO PAGES”), but this shouldn’t hinder access to essential information․
Always cross-reference the page number with your specific model’s manual, as layouts can vary․ Utilizing these references streamlines the user experience and promotes effective microwave operation․
GE Appliances Supplier Information
Locating replacement parts and accessories for your GE 4-in-1 Microwave often requires contacting authorized GE Appliances suppliers․ The official manual states that certain items, like specialized racks or cooking dishes, are “Available at extra cost from your GE Appliances supplier․”
These suppliers are distinct from general retailers and are specifically equipped to handle GE appliance components․ Finding a local supplier can be achieved through the GE Appliances website, utilizing their dealer locator tool․ Alternatively, contacting GE Appliances customer support directly can provide a list of authorized suppliers in your area․
When ordering, have your microwave’s model and serial number readily available to ensure compatibility․ Be prepared to provide detailed descriptions of the required part․
Beware of unofficial sources, as they may offer non-genuine parts․ Always prioritize authorized suppliers to maintain the integrity and safety of your appliance․