Regal Kitchen Pro Breadmaker Instruction Manual: A Comprehensive Guide

Welcome! This manual details the Regal Kitchen Pro K6745S breadmaker, offering guides, recipes, and troubleshooting for optimal baking experiences.
Congratulations on acquiring the Regal Kitchen Pro Breadmaker! This appliance is designed to simplify the art of homemade bread, offering convenience and consistent results. The K6745S model boasts 11 pre-programmed settings, catering to a diverse range of baking preferences – from basic loaves to gluten-free creations and even jams.
This instruction manual serves as your comprehensive guide, walking you through each feature, function, and safety precaution. Whether you’re a seasoned baker or a complete novice, this guide will empower you to unlock the full potential of your new breadmaker. Explore a world of delicious, freshly baked bread with ease!
Understanding the Control Panel
The control panel is the central hub for operating your Regal Kitchen Pro Breadmaker. It features a digital display showcasing the selected program, baking time, and delay timer settings. Key buttons include ‘Menu’ for cycling through the 11 pre-set programs, ‘Start/Stop’ to initiate or halt the baking process, and ‘Crust Color’ to adjust the desired browning level.
Dedicated buttons for ‘Loaf Size’ (1.5lb/2lb) and ‘Delay Timer’ allow for customization. Familiarize yourself with each button’s function to navigate the breadmaking process efficiently and achieve perfect results every time.
Parts Identification
Your Regal Kitchen Pro Breadmaker consists of several key components. These include the main housing, containing the heating element and mechanics, and the removable bread pan, essential for holding ingredients during baking. A kneading paddle, typically included, mixes and develops the dough.
Accessories often include measuring cups and spoons for accurate ingredient addition. The control panel, discussed previously, manages the baking process. Understanding each part’s function is crucial for proper assembly, operation, and maintenance of your breadmaker, ensuring longevity and optimal performance.
Bread Pan and Kneading Paddle

The bread pan, non-stick coated, securely fits within the breadmaker. Ensure it’s properly locked into place before operation. The kneading paddle, usually removable, mixes ingredients to form dough. It’s vital to attach it firmly to the drive shaft.
After baking, carefully remove the pan and paddle – they may be hot! Thorough cleaning is essential; residue can affect future loaves. Inspect both for damage regularly. A damaged pan or paddle compromises baking quality and may require replacement for continued optimal performance.
Measuring Cups and Spoons
Accurate measurements are crucial for breadmaking success. The Regal Kitchen Pro breadmaker often includes dedicated measuring cups and spoons, designed for precise ingredient quantities. Use these provided tools rather than standard kitchen sets, as they are calibrated for bread recipes.
Level off dry ingredients carefully; avoid packing. Liquid measurements should be precise, using the spoon to ensure accuracy. Incorrect measurements can significantly impact dough consistency and loaf texture. Always double-check quantities before starting the baking process for consistently delicious results.
Getting Started: First-Time Use
Before your first bake, carefully unpack the Regal Kitchen Pro breadmaker and remove all packaging materials. Wipe the interior and exterior with a damp cloth. Wash the bread pan and kneading paddle with warm, soapy water, then dry thoroughly. It’s recommended to run a practice cycle – a simple dough cycle – without any ingredients.
This initial run helps eliminate any potential manufacturing odors. Ensure the paddle is securely attached. Familiarize yourself with the control panel and settings before proceeding with a recipe. This preparation ensures a smooth baking experience.
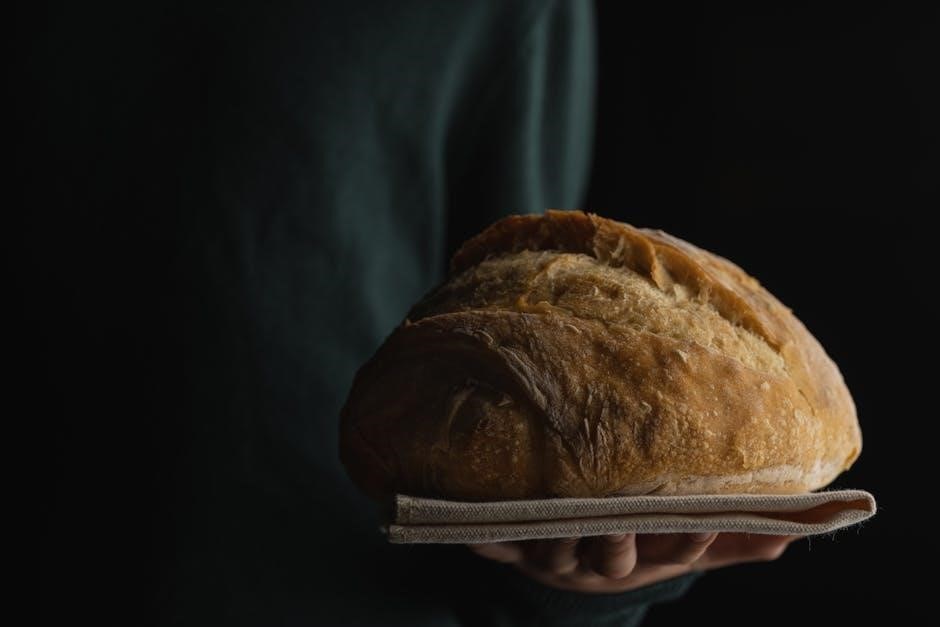
Basic Bread Recipe
For a classic loaf, you’ll need 1 ¼ cups warm water, 3 cups bread flour, 2 tablespoons sugar, 1 ½ teaspoons salt, and 2 ¼ teaspoons active dry yeast. Begin by adding the wet ingredients to the bread pan, followed by the dry ingredients, ensuring the yeast doesn’t directly contact the liquid. Select the “Basic” setting for a 1.5lb loaf.
Press start and let the breadmaker handle the kneading, rising, and baking. This recipe provides a foundation for exploring various bread types and customizations with your Regal Kitchen Pro.
Ingredients for a Standard Loaf
To create a delightful standard loaf, gather these essential components: 1 ¼ cups (300ml) of warm water, approximately 105-115°F (40-46°C). You’ll also require 3 cups (360g) of bread flour – all-purpose can be substituted, but bread flour yields a chewier texture. Add 2 tablespoons (25g) of granulated sugar for sweetness and yeast activation. Include 1 ½ teaspoons (9g) of salt to enhance flavor and control yeast activity. Finally, use 2 ¼ teaspoons (7g) of active dry yeast for leavening.
Step-by-Step Baking Instructions
Begin by adding wet ingredients (water, oil) to the bread pan, followed by dry ingredients (flour, sugar, salt, yeast), ensuring yeast doesn’t directly contact liquid. Select the “Basic” setting for a 1;5lb loaf. Press “Start.” The breadmaker will handle kneading and rising. Monitor the initial mixing phase; adjust flour/water if the dough seems too wet or dry. After baking, the machine will switch to “Keep Warm.” Carefully remove the loaf using oven mitts. Let cool completely before slicing and enjoying your freshly baked bread!
Understanding the 11 Mix Settings
The Regal Kitchen Pro boasts 11 versatile settings! “Basic” is for standard loaves; “Whole Wheat” adjusts for denser flours. “French Bread” creates a crisp crust. “Sweet Bread” caters to enriched doughs. “Dough” allows manual baking after the kneading cycle. “Gluten-Free” utilizes specialized flours. “Yeast-Free” is for quick breads. “Jam” prepares homemade preserves. “Cake” bakes sweet treats. “Sandwich” yields softer loaves. “Quick Bread” is ideal for muffins and scones. Experiment to discover the perfect setting for your desired bread type!
Basic Setting
The Basic setting on your Regal Kitchen Pro breadmaker is the workhorse for everyday loaves. It’s pre-programmed for a standard white bread recipe, handling kneading, rising, and baking automatically. This setting typically runs for approximately 3 hours and 30 minutes, delivering a 1.5 or 2-pound loaf. Ensure ingredients are added in the order specified in your recipe for optimal results. This setting is perfect for beginners and provides a consistently delicious, classic bread experience. Enjoy!
Whole Wheat Setting
The Whole Wheat setting on your Regal Kitchen Pro breadmaker is specifically designed for loaves containing a significant portion of whole wheat flour. This setting accounts for the denser nature of whole wheat, providing a longer kneading and rising time for optimal gluten development. Expect a cycle duration of around 3 hours and 50 minutes. Using 100% whole wheat may require a slightly wetter dough consistency. This setting delivers a nutritious and flavorful loaf, perfect for health-conscious bakers. Enjoy a hearty, wholesome bread!
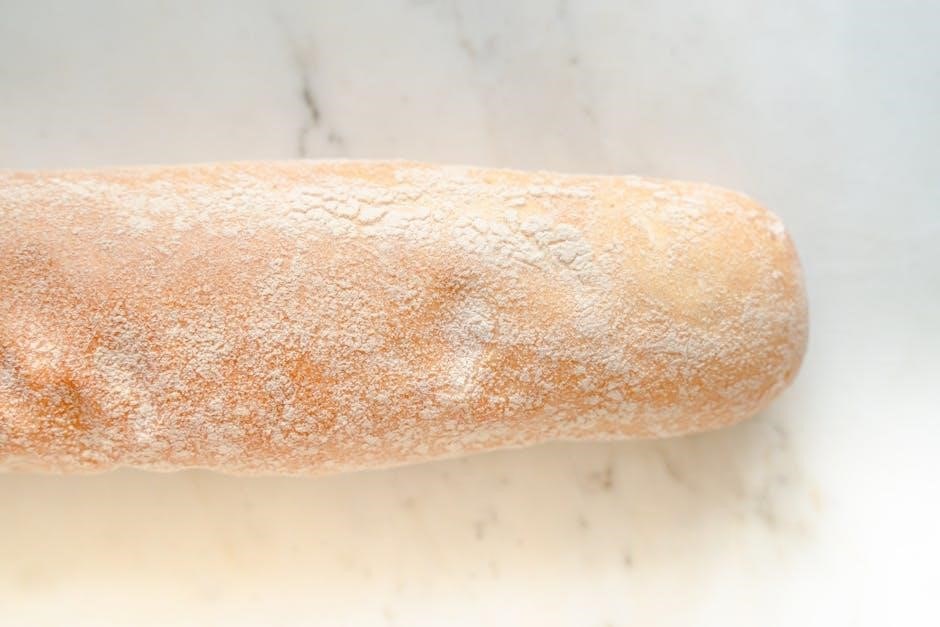
French Bread Setting
The French Bread setting on your Regal Kitchen Pro breadmaker is tailored for creating loaves with a crisp crust and airy interior, characteristic of traditional French bread. This setting utilizes a specific kneading pattern and rising time to develop the necessary gluten structure. Expect a cycle duration of approximately 3 hours and 20 minutes. A slightly lower hydration level is recommended for this setting. The result is a delightful loaf, perfect for enjoying with soups, cheeses, or simply on its own – bon appétit!
Sweet Bread Setting
The Sweet Bread setting is designed for enriched doughs containing higher sugar and fat content, ideal for brioche, challah, or cinnamon swirl bread. This setting incorporates a slower kneading process to ensure proper incorporation of ingredients and gluten development. Expect a cycle duration around 2 hours and 50 minutes. It’s crucial to add ingredients in the order recommended in your recipe for optimal results. This setting delivers a soft, tender crumb and a subtly sweet flavor – perfect for breakfast or dessert!
Dough Setting
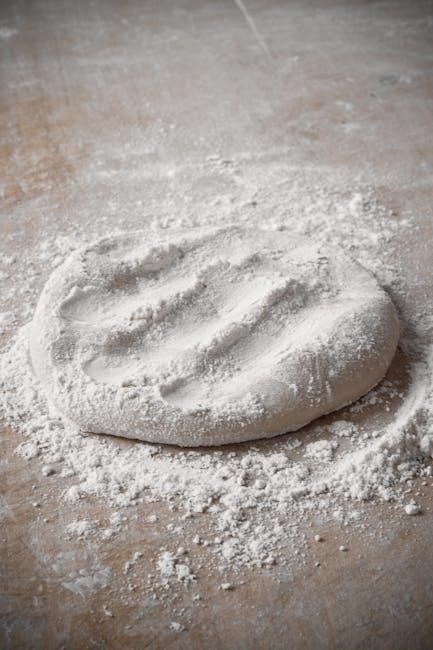
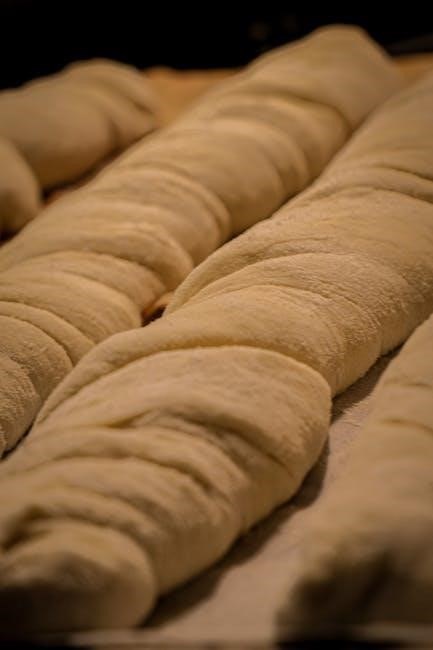
The Dough setting is perfect when you prefer to shape and bake your bread outside of the breadmaker. This cycle completes the kneading and first rise, providing you with a ready-to-use dough. The duration is approximately 1 hour and 40 minutes. After the cycle finishes, gently remove the dough, punch it down, and shape it as desired. You can then bake it in a conventional oven; This setting is also excellent for making pizza dough, rolls, or other baked goods requiring a pre-made dough base.
Gluten-Free Setting
The Gluten-Free setting is specifically designed for baking with gluten-free flour blends. This cycle utilizes a longer kneading and rising time to compensate for the lack of gluten, ensuring a well-developed structure. It’s crucial to use a gluten-free flour blend that includes xanthan gum or a similar binding agent for best results. The cycle duration is approximately 2 hours and 5 minutes. Remember to carefully measure ingredients, as gluten-free baking can be more sensitive to ratios. Enjoy delicious, gluten-free loaves with ease!
Yeast-Free Setting
The Yeast-Free setting allows you to create breads and baked goods without the use of yeast, ideal for those with sensitivities or preferences. This cycle relies on baking powder or baking soda for leavening. It’s perfect for quick breads, soda breads, and certain types of cakes. The cycle duration is approximately 1 hour and 45 minutes. Ensure your baking powder or soda is fresh for optimal rise. Carefully follow recipes designed for yeast-free baking, as ingredient proportions are critical for successful results.
Jam Setting
The Jam setting on your Regal Kitchen Pro breadmaker transforms fresh fruit into delicious homemade preserves! This cycle typically lasts around 1 hour and 15 minutes, gently cooking the fruit and sugar to a perfect jam consistency. Ensure fruit is properly prepared – washed, chopped, and combined with the appropriate amount of sugar as per your recipe. Avoid overfilling the bread pan, leaving space for bubbling during cooking. Remember to monitor the jam during the final stages to prevent burning, and always allow it to cool completely before storing.
Cake Setting
The Cake setting allows you to bake delightful cakes directly in your Regal Kitchen Pro breadmaker! This cycle, generally lasting around 1 hour, provides a gentle mixing and baking process ideal for creating moist and fluffy cakes. Ensure all ingredients are thoroughly combined before starting the cycle. Avoid using recipes requiring extensive cooling periods within the machine. Once the cycle completes, carefully remove the cake pan and allow the cake to cool completely on a wire rack before frosting and serving. Experiment with different cake flavors!
Sandwich Setting
The Sandwich setting on your Regal Kitchen Pro breadmaker is specifically designed for creating soft, light-textured loaves perfect for sandwiches. This cycle typically runs for approximately 1 hour and 30 minutes, utilizing a slower kneading process and a shorter baking time. This results in a tender crumb and a delicate crust. Use recipes formulated for sandwich bread to achieve the best results. Remember to use appropriate yeast amounts for optimal rise and texture. Enjoy fresh, homemade sandwiches with this convenient setting!
Quick Bread Setting
The Quick Bread setting on your Regal Kitchen Pro breadmaker is ideal for recipes that don’t require extensive kneading or a long rise time. This setting is perfect for muffins, scones, and other similar baked goods. It typically utilizes a shorter cycle, often around 1 hour, focusing on mixing and baking. Remember that quick breads often rely on baking powder or baking soda for leavening, rather than yeast. Ensure your ingredients are fresh for optimal results. Enjoy convenient, homemade quick breads with ease!
Adjusting Loaf Size (1.5lb & 2lb)
Your Regal Kitchen Pro breadmaker offers the flexibility of baking either a 1.5lb or a 2lb loaf. Selecting the appropriate loaf size is crucial for achieving the perfect texture and rise. Use the “Loaf Size” button on the control panel to toggle between the two options. Remember to adjust ingredient quantities accordingly when changing loaf sizes; a smaller loaf requires proportionally fewer ingredients. Incorrect loaf size selection can lead to underbaked or overflowed bread. Always double-check your setting before starting the baking cycle for consistently delicious results.
Delay Timer Function
The Delay Timer feature allows you to conveniently schedule bread baking up to 13 hours in advance. Press the “Timer” button repeatedly to set the desired delay time, ensuring the bread is freshly baked when you need it. It’s important to avoid using perishable ingredients like milk or eggs when utilizing the delay timer, especially during warmer temperatures, to prevent spoilage. Always confirm the timer is correctly set before initiating the cycle. This function provides ultimate flexibility for busy schedules, delivering warm, homemade bread effortlessly.
Keep Warm Function
The Keep Warm function automatically activates once the baking cycle is complete, maintaining your bread at an optimal serving temperature for up to one hour. This prevents the loaf from becoming stale or cold if you’re not immediately ready to enjoy it. The breadmaker gently warms the loaf without continuing to bake it, preserving its texture and flavor. It’s a convenient feature for those with varying schedules or when preparing bread ahead of time. Remember to turn off the machine after the keep-warm cycle ends.
Cleaning and Maintenance
Regular cleaning ensures optimal performance and longevity of your Regal Kitchen Pro breadmaker. Always unplug the appliance before cleaning. The bread pan and kneading paddle are removable and dishwasher-safe, or can be washed with warm, soapy water. Wipe the breadmaker housing with a damp cloth; avoid immersing it in water. Ensure all parts are thoroughly dry before reassembling. Avoid abrasive cleaners, as they can damage the non-stick coating. Consistent maintenance prevents buildup and ensures consistently delicious results. Inspect the power cord regularly for damage.
Cleaning the Bread Pan and Paddle
Thorough cleaning of the bread pan and kneading paddle is crucial after each use. Remove them carefully, as they may be warm. Both are dishwasher-safe for convenient cleaning. Alternatively, wash by hand with warm, soapy water, using a non-abrasive sponge to avoid scratching the non-stick coating. Pay close attention to removing any dough residue, especially around the paddle shaft. Ensure both are completely dry before reinserting into the breadmaker. Proper cleaning prevents sticking and ensures consistent baking performance with your Regal Kitchen Pro.
Cleaning the Breadmaker Housing

Maintaining a clean exterior is essential for the longevity of your Regal Kitchen Pro breadmaker. Always unplug the appliance and allow it to cool completely before cleaning. Wipe down the housing with a damp, soft cloth. Avoid using abrasive cleaners or harsh chemicals, as these can damage the finish. For stubborn stains, a mild dish soap solution can be used, followed by a clean, damp cloth to rinse. Never immerse the breadmaker housing in water or any other liquid. Regular cleaning keeps your appliance looking its best!
Troubleshooting Common Issues
Encountering problems? This section addresses frequent issues with your Regal Kitchen Pro breadmaker. Bread Not Rising: Ensure yeast is fresh and properly measured. Check room temperature – it should be warm, not cold. Paddle Stuck in Bread: Allow the loaf to cool completely before removing. Gently loosen the paddle. Burned Crust: Reduce baking time or loaf size. Verify ingredients aren’t overly sugary. If issues persist, consult the full manual or contact customer support for further assistance and detailed solutions.

Bread Not Rising
Loaf falling flat? Several factors can cause this. First, verify your yeast is active and within its expiration date. Incorrect measurements are common – use accurate measuring tools. Room temperature is crucial; a cold environment inhibits yeast activity. Ensure ingredients are properly combined. Overmixing or undermixing can also affect rise. Double-check the selected program; some settings have shorter rise times. If the problem continues, try a different brand of yeast or consult the complete instruction manual for detailed troubleshooting steps.
Paddle Stuck in Bread
Don’t force it! A stuck kneading paddle is a frequent issue. Allow the bread to cool completely before attempting removal. Gently loosen the edges with a non-stick spatula. If still stuck, try turning the bread pan upside down and gently tapping it. Avoid using sharp objects that could damage the non-stick coating. For stubborn cases, soak the pan in warm water for a short period. Refer to the cleaning section of this manual for detailed instructions on paddle removal and proper maintenance.
Burned Crust
Adjust baking time or setting! A burned crust often indicates excessive baking time or an incorrect setting. For lighter crusts, select a lighter crust setting or reduce the baking time slightly. Ensure you’re using the appropriate setting for your recipe – whole wheat breads require different settings than white bread. Check the heating element for any debris. If the issue persists, try reducing the amount of sugar in your recipe, as sugar contributes to crust darkening. Consistent burning may indicate a malfunction; contact customer support.
Recipe Variations
Expand your baking! The Regal Kitchen Pro allows for exciting recipe variations. Adding Fruits and Nuts: Incorporate up to 1.5 cups of chopped fruits or nuts, adding them during the second knead cycle. Using Different Flours: Experiment with rye, spelt, or other flours, but remember they absorb liquid differently – adjust accordingly. Start by substituting up to 50% of the white flour. Always monitor the dough consistency; it should be smooth and elastic. Explore online resources for specialized breadmaker recipes to unlock new flavors!
Adding Fruits and Nuts
Enhance your loaves! To add fruits and nuts to your Regal Kitchen Pro bread, wait until the second kneading cycle. This prevents them from being crushed during the initial mixing. Gently add up to 1.5 cups of chopped ingredients – raisins, cranberries, walnuts, or pecans work wonderfully. Avoid overly large pieces. For best results, lightly flour the fruits or nuts before adding them to prevent sticking. Remember to adjust liquid slightly if using very moist fruits. Enjoy a delightful texture and flavor boost!
Using Different Flours
Experiment with flour! The Regal Kitchen Pro adapts to various flours. Whole wheat flour creates denser loaves; reduce yeast by ¼ teaspoon per cup used. Rye flour adds a distinctive flavor, but use up to 30% substitution for best results. Gluten-free blends require a binder like xanthan gum (usually included in the blend). High-protein flours yield chewier bread. Adjust liquid levels as needed – whole wheat absorbs more. Always measure accurately for consistent outcomes. Explore diverse flavors and textures with different flour combinations!
Safety Precautions
Prioritize safety! Always unplug the Regal Kitchen Pro before cleaning; Never immerse the appliance in water. Allow it to cool completely before handling the bread pan or kneading paddle – they become very hot. Keep the cord away from hot surfaces. Do not operate with a damaged cord or plug. Supervise children when the breadmaker is in use. Avoid touching moving parts during operation. Use only recommended accessories. Ensure proper ventilation during baking. Never attempt to repair the appliance yourself; contact qualified service personnel.
Warranty Information
Your Regal Kitchen Pro breadmaker is covered by a one-year limited warranty against defects in materials and workmanship from the date of purchase. This warranty does not cover damage resulting from misuse, accidents, or unauthorized repairs. To make a claim, provide proof of purchase and contact our customer support team. The warranty is void if the appliance is altered or used for commercial purposes. We guarantee replacement or repair, at our discretion, for any covered defects. See full details online or in the included warranty card.
Frequently Asked Questions (FAQ)
Q: Why isn’t my bread rising? Ensure yeast is fresh and properly activated. Q: Can I stop the cycle to add ingredients? Yes, briefly press the Start/Stop button. Q: What loaf size should I use? Choose 1.5lb for smaller families, 2lb for larger. Q: Is the paddle supposed to stay in the bread? Yes, it’s designed to be removed after cooling. Q: Can I use gluten-free flour? Absolutely, select the Gluten-Free setting. For further assistance, consult our online resources.
Where to Find Additional Recipes
Regal Kitchen Pro K6745S Specifics
Model K6745S details: This breadmaker boasts a 1.5-2lb loaf capacity and features 11 versatile mix settings. It includes a comprehensive guide cookbook, available in PDF format, spanning 60 pages. Users can access resources online, including downloadable manuals and recipe collections. The K6745S is designed for ease of use, offering a delay timer and keep-warm function. It’s a popular choice for both beginner and experienced bakers seeking consistent, delicious results. Explore its capabilities for diverse bread styles!