
Nikon Z8 Setup Guide: A Comprehensive Overview (February 14, 2026)
Welcome! This detailed guide assists in mastering your Nikon Z8, offering a complete understanding of its features and successful operation, as of today’s date․
Initial Setup & Unboxing
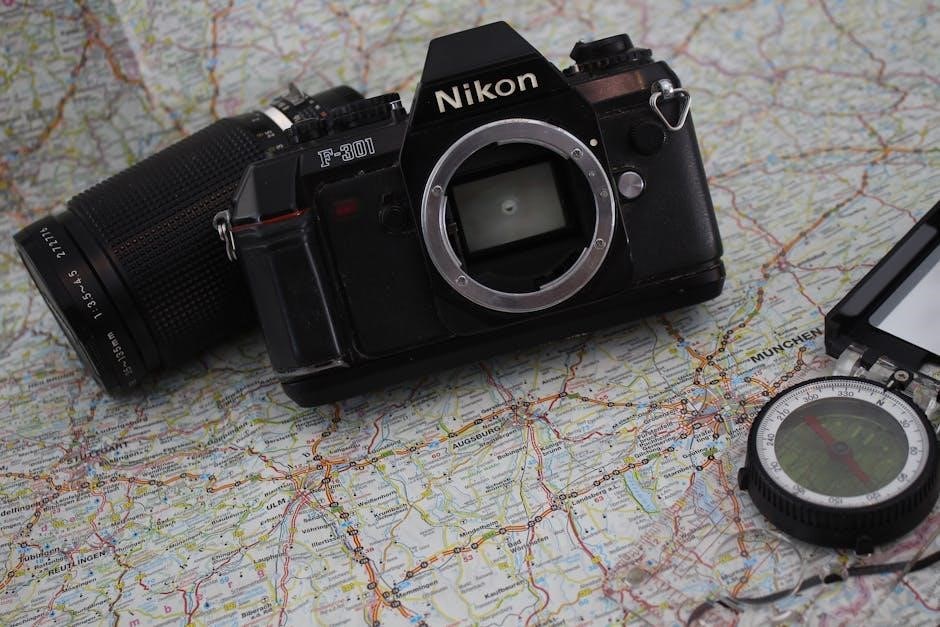
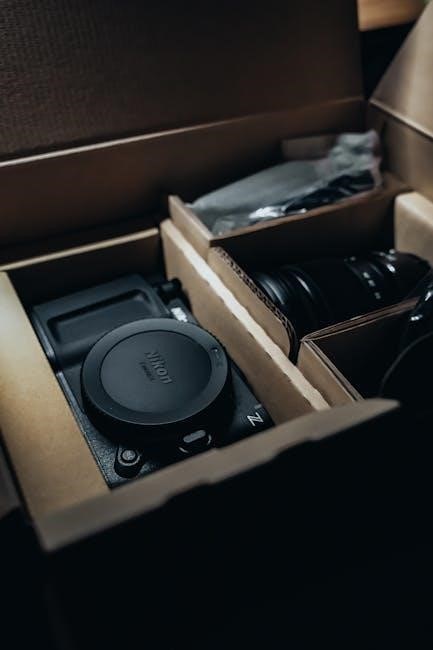
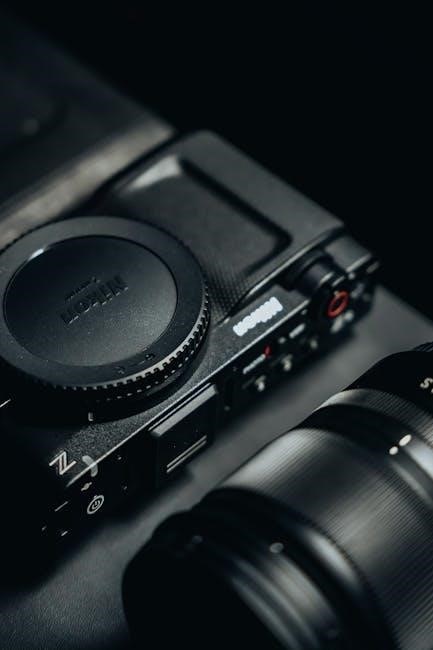
Congratulations on acquiring the Nikon Z8! This section guides you through the initial steps, ensuring a smooth and exciting start․ Carefully unpack the box, verifying all listed components are present․ Retain the packaging for potential future transport or warranty claims․
Before powering on, visually inspect the camera body for any shipping damage․ Gently remove all protective films and coverings․ Take a moment to familiarize yourself with the camera’s exterior – locate key buttons, dials, and ports․ This initial familiarization will prove invaluable as you delve deeper into the Z8’s capabilities․
We recommend downloading the complete Nikon Z8 manual in PDF format from Nikon’s official website․ Having a digital copy readily available will be incredibly helpful during setup and beyond, offering detailed explanations and troubleshooting advice․ Let’s begin unlocking the full potential of your new camera!
What’s in the Box?
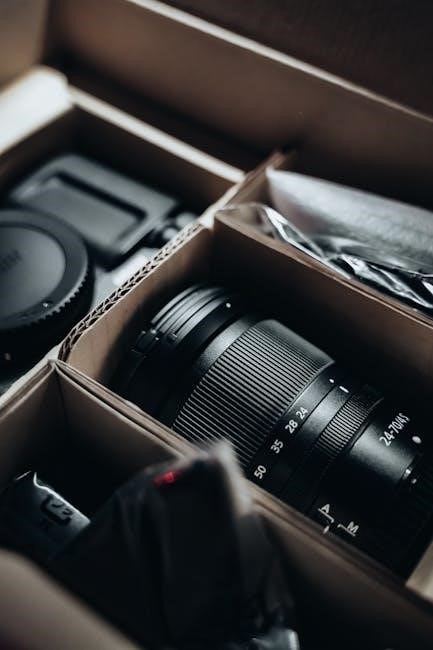
Upon unboxing your Nikon Z8, you should find the following items․ Firstly, the Z8 camera body itself, meticulously crafted for professional performance․ Included is a rechargeable EN-EL15d battery, providing ample power for extended shooting sessions․ You’ll also receive the MH-C30 charger, specifically designed for the EN-EL15d battery․
A USB-C cable is provided for data transfer and charging, alongside a shoulder strap for comfortable carrying․ The camera comes with a body cap to protect the sensor when a lens isn’t attached, and a receiver cover for the accessory shoe․ Importantly, a comprehensive documentation set is included – the warranty card, a quick start guide, and a reference manual․
For detailed information, download the full Nikon Z8 manual in PDF format from Nikon’s website․ Verify all these components are present; if anything is missing, contact your retailer immediately․
Charging the Battery
Before first use, fully charge the EN-EL15d battery using the supplied MH-C30 charger․ Connect the USB-C cable to the charger and a USB power source․ Insert the battery into the charger, ensuring correct polarity – the metal contacts should align․ The charger’s LED indicator will illuminate, typically red while charging and green when complete․
A full charge typically takes approximately 2․5 hours․ Avoid interrupting the charging process․ Nikon recommends using the provided charger to ensure optimal battery performance and longevity․ You can continue to use the camera while the battery is charging via USB, though charging speed may be reduced․
Refer to the Nikon Z8 manual PDF for detailed charging specifications and safety precautions․ Always use a reputable USB power adapter to prevent damage․ A fully charged battery provides substantial shooting capacity, allowing for extended use in the field․
Inserting the Battery & Memory Card
Locate the battery compartment door on the camera’s bottom․ Release the latch and open the door․ Insert the fully charged EN-EL15d battery, ensuring the correct orientation as indicated by the diagram inside the compartment․ Close and secure the battery door latch․
Next, open the memory card slot cover, also on the camera’s bottom․ The Nikon Z8 supports CFexpress Type B cards and SD cards (UHS-II compatible)․ Insert the card(s) until they click into place․ Gently push them in further to ensure they are fully seated․
Refer to the Nikon Z8 manual PDF for detailed illustrations and compatibility information․ Proper card insertion is crucial for data recording․ Avoid forcing the cards․ Always eject cards properly before removing them to prevent data corruption․

Camera Configuration & Customization
Personalize your Z8! Explore the extensive menu system to tailor settings, optimize controls, and unlock the camera’s full potential for your unique style․
Menu Navigation & Understanding
Navigating the Z8’s menu system is crucial for customization․ The menu is logically organized into categories – Setup, Shooting, Display, Video, and Custom Settings – each containing numerous options․ Use the directional pad and central selector to move through the menus and submenus․
Understanding the icons is also key; a wrench indicates camera settings, a camera icon relates to shooting parameters, and so on․ The ‘i-Menu’ provides quick access to frequently used settings․ Don’t hesitate to explore each section thoroughly․
Pro Tip: Utilize the ‘My Menu’ feature to save your most-used settings for instant access․ This streamlines your workflow and ensures you can quickly adjust critical parameters in any shooting situation․ Remember to consult the full manual for detailed explanations of each menu option․
Setting the Date, Time & Language
Accurate date and time settings are essential for proper file naming and organization, as well as for features like time-lapse photography․ To set these, navigate to the Setup menu, then select ‘Date/Time’․ You’ll be prompted to enter the date, time, and time zone․ Ensure your time zone is correctly configured for accurate results․
Language selection is also found within the Setup menu․ Choose your preferred language from the available options․ This will change the menu display and any on-screen messages․
Important Note: If you travel frequently, consider enabling ‘Auto Time Zone’ (if available) which uses location data to automatically adjust the time․ Regularly verify these settings to maintain accurate records․
Choosing Your Image Quality Settings (RAW, JPEG, etc․)
Selecting the right image quality setting is crucial for balancing file size and image detail․ Navigate to the shooting menu to access these options․ RAW captures all data from the sensor, offering maximum editing flexibility but resulting in larger file sizes․ It’s ideal for professional work and serious editing․
JPEG compresses the image, reducing file size but sacrificing some detail․ Choose a quality level (Fine, Normal, Basic) within JPEG settings; Fine provides the best quality within the JPEG format․
RAW + JPEG simultaneously records both formats, offering the benefits of both․ Consider this for important shoots․ Experiment to find the balance that suits your needs and storage capacity․
Autofocus System Setup – Initial Configuration
Initial autofocus setup is vital for optimal performance․ Access the autofocus settings through the camera’s menu․ Begin by selecting an AF-area mode – Single-point AF is precise for stationary subjects, while Dynamic-area AF tracks moving subjects․ Wide-area AF is useful for general shooting․
Next, configure AF-C priority․ This determines how the camera responds when the subject’s movement is erratic․ Explore options like ‘Priority for release’ or ‘Priority for focus․’
Subject detection settings are also key․ Ensure ‘Person detection’ or ‘Animal detection’ are enabled if photographing those subjects․ Fine-tune sensitivity levels for accurate tracking․ Regularly review and adjust these settings based on your shooting environment․
Customizing Buttons & Controls
Personalizing your Nikon Z8 significantly enhances workflow․ Access the ‘Custom Control Assignment’ menu to remap buttons and dials․ Consider assigning frequently used functions – like ISO, aperture, or AF-area mode – to easily accessible controls․
The Fn button is particularly versatile; customize it for quick access to essential settings․ Explore the ‘My Menu’ option to create a personalized menu with your most-used features․ Don’t overlook the ability to adjust dial behavior, such as switching the sub-command dial’s function․
Save custom settings to user profiles for different shooting scenarios․ Regularly review and refine your customizations to optimize the camera for your individual shooting style and preferences․
Autofocus & Subject Detection
Unlock precision! The Z8’s advanced autofocus system, featuring intelligent subject detection, ensures sharp images, even with fast-moving subjects, for optimal results․
Understanding Autofocus Modes (AF-S, AF-C, AF-A)
Mastering focus is key! The Nikon Z8 offers three primary autofocus modes, each suited for different shooting scenarios․ AF-S (Single-servo AF) is ideal for stationary subjects; the camera focuses once when the shutter button is pressed halfway, locking focus until released․ This is perfect for portraits or landscapes where the subject isn’t moving․
AF-C (Continuous-servo AF), conversely, continuously tracks focus on moving subjects․ The camera adjusts focus as the subject changes distance, ensuring sharpness during action sequences – think sports or wildlife photography․ It predicts movement for consistently sharp results․
Finally, AF-A (Auto-servo AF) intelligently switches between AF-S and AF-C automatically, detecting subject movement․ While convenient, it’s less predictable than manually selecting a mode․ Experiment to determine which mode best suits your shooting style and subject matter for consistently excellent images․
Subject Detection Settings (People, Animals, Vehicles)
Intelligent tracking is here! The Nikon Z8 boasts advanced subject detection, dramatically improving autofocus accuracy․ Within the autofocus menu, you can prioritize detection for People, recognizing faces and eyes for sharp portraits, even in challenging conditions․ Select Animals to prioritize tracking eyes and bodies of pets or wildlife, ensuring critical focus․
For motorsports enthusiasts, the Vehicles setting is a game-changer․ It intelligently locks onto cars and motorcycles, maintaining focus even at high speeds․ You can further customize these settings, adjusting detection sensitivity and specifying which eye to prioritize (left or right)․
Experiment with these modes to unlock the Z8’s full potential․ Remember to select the appropriate subject type for optimal tracking performance and consistently sharp results․
Fine-Tuning Autofocus Performance
Achieve pinpoint sharpness! While the Nikon Z8’s autofocus is excellent out-of-the-box, fine-tuning allows for personalized precision․ Explore AF Fine Tune within the setup menu to calibrate lenses, compensating for slight variations in autofocus accuracy․ This is particularly useful with third-party lenses․
Adjust Tracking Sensitivity to control how aggressively the camera follows moving subjects․ Lower sensitivity is ideal for predictable movement, while higher sensitivity suits erratic action․ Experiment with Focus Stepping to smooth focus transitions during video recording, minimizing distracting jumps․
Don’t overlook Back-Button Focus, assigning autofocus activation to a dedicated button for greater control․ Mastering these settings unlocks the Z8’s full autofocus potential, ensuring consistently sharp images and videos․
Video Recording Setup
Unlock cinematic potential! This section details configuring video settings – resolution, frame rates, and audio – for professional-quality footage with your Nikon Z8․
Video Resolution & Frame Rate Options
Choosing the right settings is crucial for video quality․ The Nikon Z8 offers a vast array of resolution and frame rate combinations, catering to diverse filmmaking needs․ You can record internally in stunning 8K UHD at up to 30p, providing incredible detail and flexibility for post-production․ For slower motion effects, 4K UHD up to 120p is available, capturing every nuance of fast-paced action․
Consider your project’s requirements․ Lower resolutions like 1080p are suitable for online content or when file size is a concern․ Frame rates impact motion smoothness; 24p delivers a cinematic look, while 60p is ideal for sports or action․ Experiment with different settings to find the optimal balance between quality, file size, and creative intent․ Remember to select a compatible memory card capable of handling the chosen bitrate for seamless recording․
ProRes RAW is also an option for maximum flexibility in post-production, offering unparalleled control over color grading and dynamic range․
Setting Up Audio Recording
High-quality audio is as important as video․ The Nikon Z8 provides comprehensive audio control for professional results․ You can connect external microphones via the 3․5mm jack, ensuring clear and crisp sound․ The camera also features internal stereo microphones, suitable for basic recording needs, but external mics are highly recommended for optimal quality․
Adjusting audio levels is critical․ Monitor the audio levels using the on-screen display and adjust the gain to prevent clipping or excessive noise․ Utilize the headphone jack to directly monitor the audio during recording․ The Z8 offers manual and automatic gain control options, allowing you to tailor the settings to your environment․
Consider wind noise and handling noise․ Employ a windscreen or blimp when recording outdoors, and use a shock mount to minimize vibrations․
Understanding Video Codecs & Bitrates
Choosing the right codec and bitrate is crucial for video quality and file size․ The Nikon Z8 supports various codecs, including ProRes RAW, N-Log, and H․265 (HEVC)․ ProRes RAW offers the highest quality and flexibility for post-production, but results in large file sizes․ N-Log provides a flat picture profile ideal for color grading, while H․265 offers a good balance between quality and compression․
Bitrate determines the amount of data used per second of video․ Higher bitrates result in better quality but larger files․ The Z8 allows you to adjust the bitrate based on your needs and storage capacity․ For 4K recording, a bitrate of 200Mbps or higher is recommended for professional results․
Consider your workflow and storage․ Select a codec and bitrate that suits your editing software and available storage space․
Connectivity & Transferring Images
Seamlessly connect and share your creations! This section details Wi-Fi, Bluetooth, SnapBridge, and USB-C options for efficient image transfer and control․
Wi-Fi & Bluetooth Setup
Establishing a wireless connection with your Nikon Z8 unlocks a world of convenient features․ To begin, navigate to the camera’s setup menu and select the “Wireless Communication” options․ Enable Wi-Fi and choose your desired network from the available list, entering the password if prompted․
Bluetooth pairing is also available, primarily for a constant, low-energy connection with your smartphone․ This is ideal for SnapBridge functionality․ Ensure your smartphone’s Bluetooth is enabled and discoverable․ Within the Nikon SnapBridge app, follow the on-screen instructions to pair with your Z8․
Troubleshooting tips: If connection issues arise, verify your network credentials and ensure the camera is within range of the Wi-Fi router․ Restarting both the camera and your smartphone can often resolve pairing problems․ Remember to update the camera’s firmware for optimal wireless performance․
Nikon SnapBridge App – Connecting & Transferring
Nikon SnapBridge is your gateway to seamless image and video transfer from your Z8 to your smartphone or tablet․ After successfully pairing via Bluetooth (see previous section), launch the SnapBridge app on your device․ The app will automatically detect your camera․
Transferring images is straightforward․ You can choose to transfer all images, select specific files, or set up automatic transfer of new photos as you take them․ SnapBridge also allows for remote camera control, letting you trigger the shutter and adjust settings from your phone․
Important considerations: Ensure both the camera and your smartphone have sufficient battery life during transfer․ Large video files may take longer to transfer over Wi-Fi․ Regularly update the SnapBridge app to benefit from the latest features and bug fixes․
Using USB-C for Data Transfer
The Nikon Z8 utilizes a USB-C port for high-speed data transfer to your computer․ Connect the camera to your computer using a compatible USB-C cable․ Upon connection, the camera will appear as a removable drive in your operating system’s file explorer (Windows) or Finder (macOS)․
For faster transfer speeds, ensure you are using a USB 3․1 Gen 1 or higher cable and port․ You can then simply drag and drop your photos and videos from the camera’s drive to your computer․ Alternatively, Nikon’s NX Transfer software offers advanced features like automatic file organization and renaming․
Remember to safely eject the camera from your computer before disconnecting the USB cable to prevent data corruption․ The Z8 also supports USB charging while connected to your computer․

Advanced Settings & Troubleshooting
Explore deeper customization options and resolve common issues with this section, ensuring optimal Nikon Z8 performance and a smooth user experience․
Firmware Updates & Installation
Maintaining your Nikon Z8 with the latest firmware is crucial for optimal performance, bug fixes, and accessing new features․ Regularly check the Nikon Download Center (downloadcenter․nikonimg․com) for available updates specifically for the Z8 model․ Download the firmware file to your computer and then transfer it to a formatted SD card․
Ensure the SD card has sufficient charge and is correctly inserted into the camera․ Navigate to the camera’s setup menu, locate the “Firmware Version” option, and select “Update․” Follow the on-screen prompts carefully during the installation process․ Do not interrupt the update, as this could potentially damage the camera’s internal systems․ The camera will automatically restart upon successful completion․ Always verify the new firmware version in the setup menu after the update․
Custom Picture Controls – Creating Your Look
Nikon’s Picture Control system allows you to personalize the look of your images directly within the camera․ Beyond the standard presets (Standard, Neutral, Vivid, Monochrome), the Z8 offers extensive customization options․ Access these controls through the camera’s menu system, adjusting parameters like sharpness, contrast, brightness, saturation, and hue․
Experiment with these settings to develop your unique visual style; You can create and save multiple custom Picture Controls tailored to different shooting scenarios – portraits, landscapes, or action․ Consider fine-tuning the Auto Picture Control to better suit your preferences․ Saving your custom settings ensures consistent results and streamlines your workflow, allowing you to focus on composition and capturing the perfect moment․
Common Troubleshooting Issues & Solutions
Encountering issues? Several common problems can arise with the Nikon Z8․ If the camera freezes, try a soft reset by removing and reinserting the battery․ For autofocus problems, ensure AF-C is selected for moving subjects and check your subject detection settings․ Image quality concerns often stem from incorrect ISO or white balance settings – review these in your menu․
Connectivity issues with SnapBridge can usually be resolved by restarting both the camera and your smartphone, and verifying Bluetooth permissions․ If you experience card errors, try a different memory card or format the existing one within the camera․ Finally, if all else fails, a factory reset (remembering to back up your custom settings first!) can often resolve persistent software glitches․
Resetting the Camera to Factory Defaults
Returning your Nikon Z8 to its original state can resolve complex issues or prepare it for resale․ Before proceeding, understand this will erase all custom settings – shooting preferences, autofocus configurations, and personalized button assignments․ It’s crucial to back up your settings to a memory card beforehand if you intend to restore them later․
To initiate the reset, navigate to the “Setup” menu (the wrench icon)․ Select “Reset” and then “Factory Reset;” The camera will prompt you with a confirmation screen; carefully read the warning before confirming․ The process takes a few moments, and the camera will restart with all settings reverted to their defaults․ Remember to reconfigure your preferences after the reset is complete․